Fight the Bite: DIY Eco-Friendly Mosquito Trap

The dog days of summer bring those doggone mosquitoes! For the insect-conscious gardener, killing mosquitoes proves hard to navigate since you also don’t want to harm your yard’s precious dragonflies, butterflies, or bees. We carry Murphy’s® insect repellent sprays, candles, incense, and more, but the most efficient, effective, and environmentally friendly way to rid your yard of mosquitos is by creating a Mosquito Larvae Trap, an idea recommended by Doug Tallamy.

Controlling mosquitoes at the larval stage instead of the adult stage is the most effective way to naturally reduce adult populations while minimizing the need for intensive adult control actions i.e. spraying insecticides (which kills all insects, not just mosquitoes). A mosquito larvae trap works by attracting adult mosquitoes to a fermenting solution to lay their eggs. An added Mosquito Dunk® or Mosquito Bits® (containing bacterium Bacillus thuringiensis) will target and kill only the mosquito larvae, and will not harm you, your children, your pets, or the planet.

DIY Mosquito Larvae Trap

What you need:

  • Bucket

  • Leaves, pine straw, or hay

  • Water

  • A Mosquito Dunk® or Mosquito Bits®

  • Chicken wire or similar screening (optional)

Instructions:

  1. Add leaves or straw to the bucket. Use 3 or 4 handfuls ~ 3 or 4 cups.

  2. Add water to the bucket. Filling the bucket up halfway is a good 1:4 ratio and leaves room for summer rains.

  3. Allow the water and organic matter to sit for 2-4 days then add the Mosquito Dunk® or Mosquito Bits® (per label instructions) to the bucket making sure contact with the water is made.

  4. (Optional) Cover the bucket with chicken wire that allows adult mosquitoes into the trap, but keeps other critters out.

  5. Placing the trap near areas that have the highest mosquito activity will help reduce their population the most rapidly. Part sun to dappled shade works best for Tallahassee. The Mosquito Dunk® lasts for about a month and the Mosquito Bits® last about two weeks. Replace the solution after about 3 or 4 weeks.

Let us know if this skeeter beater works for you!

Rattlesnake Master for War, for Medicine, and for Pollinators

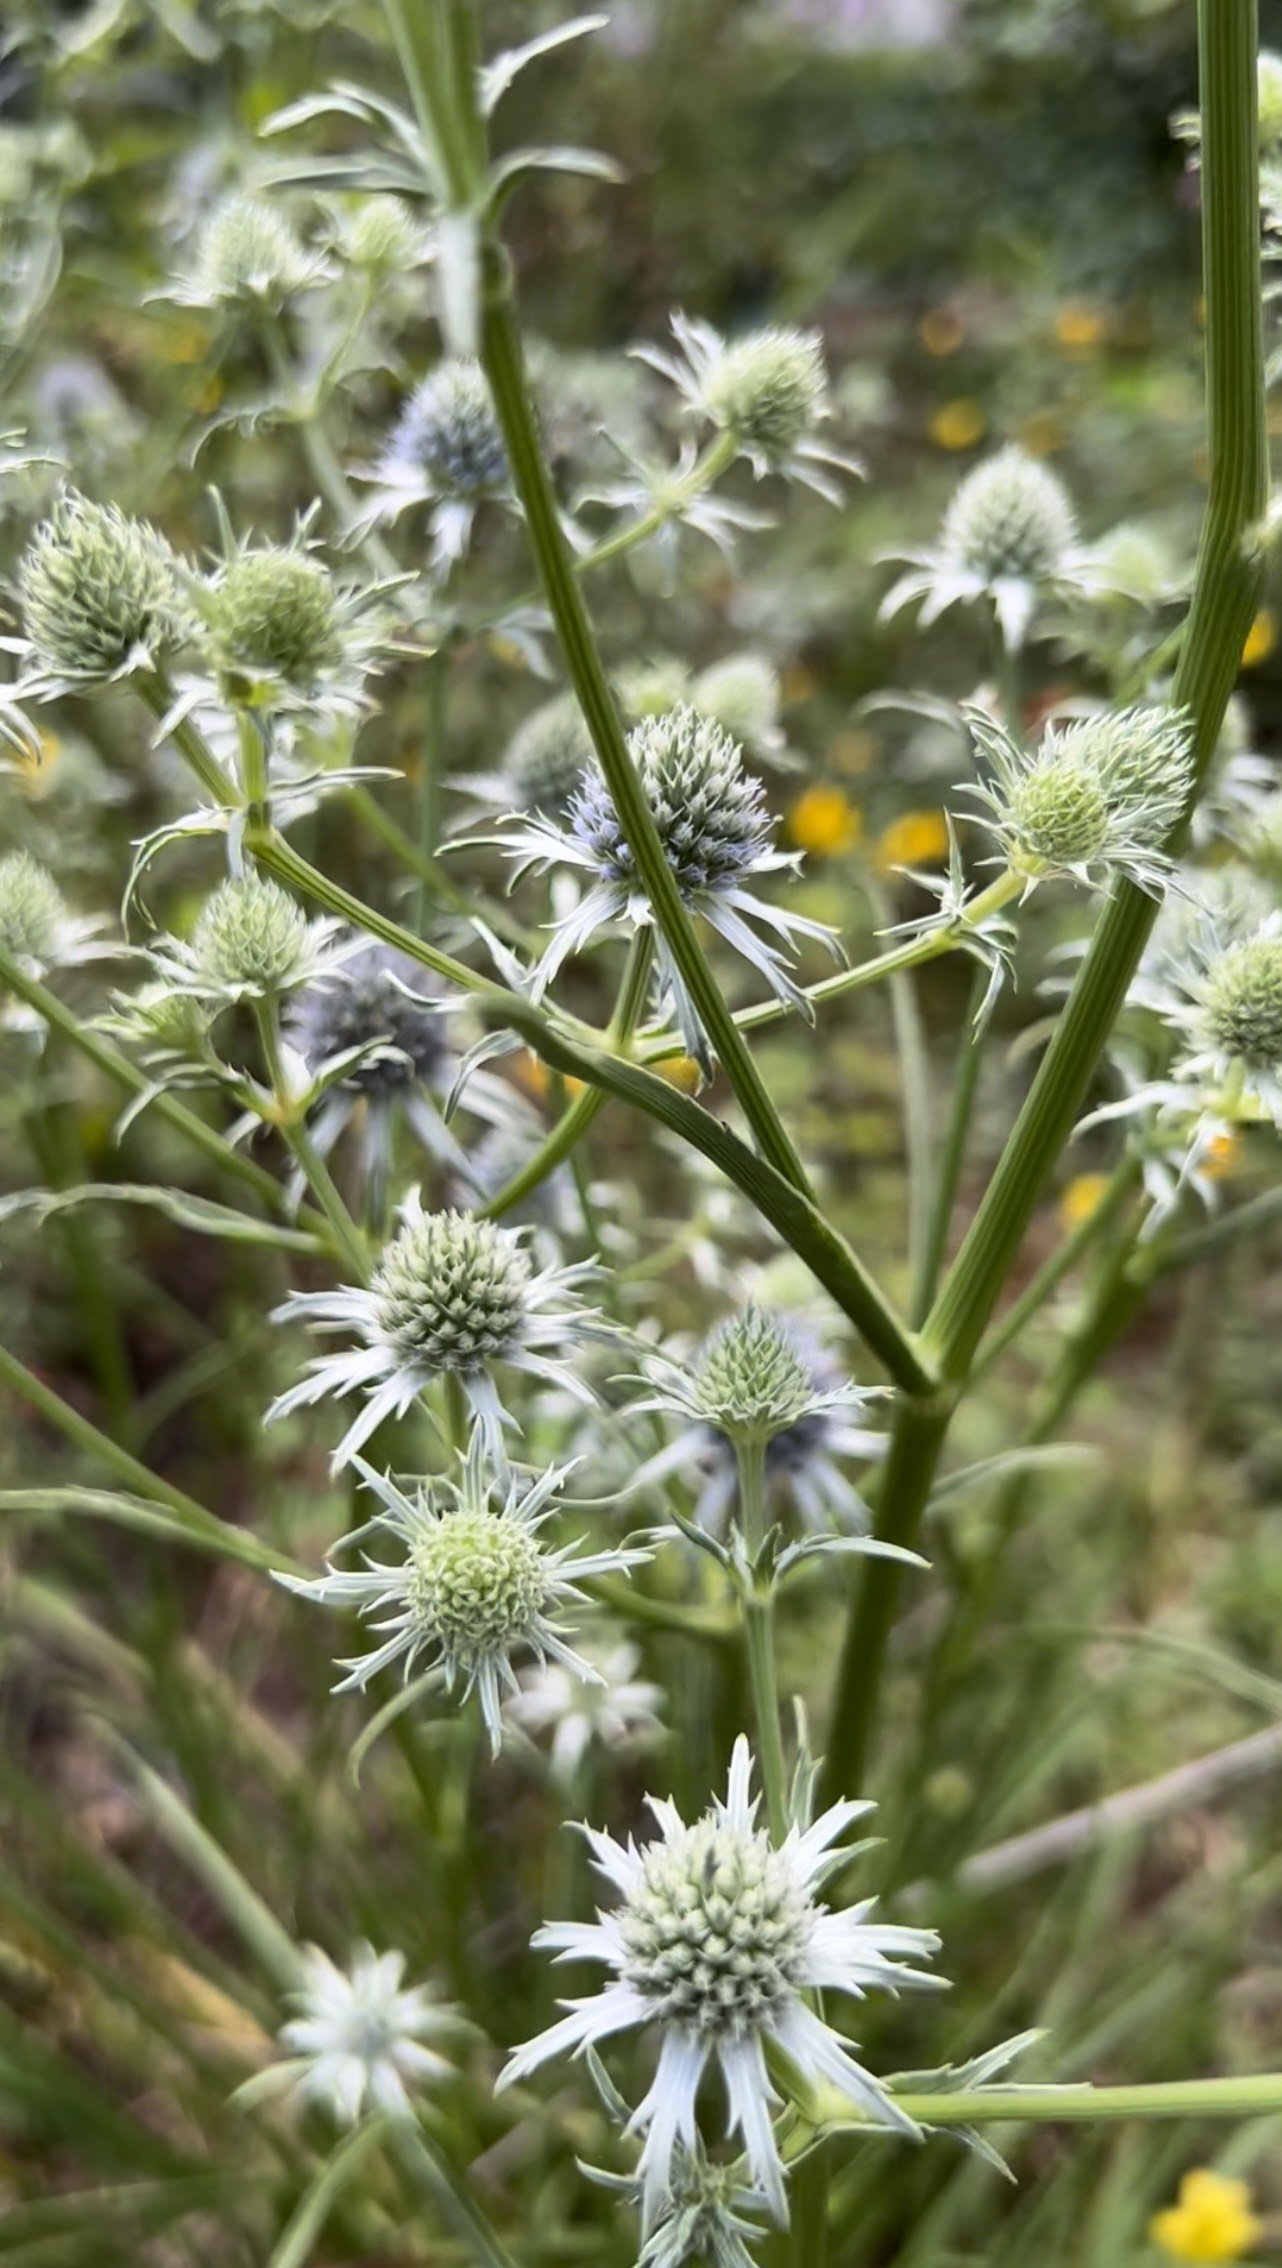
Eryngium yuccifolium (rattlesnake master)

Native Americans of the Southeast stocked a heavy arsenal as they prepared for battle. An important part of this weaponry included medicine. The outcome of the wars, many believed, depended on the potency of their war medicine. Soldiers carried medicine bundles, leaders consumed war medicine before feasting, and priests applied war medicine to wounds.

A coveted component of their medicine cabinet of war included the native plant rattlesnake master, also known as button snakeroot or button eryngo. Used to induce vomiting and cure snake bites by Indigenous Americans for thousands of years, rattlesnake master continues its usefulness in the backyard garden as a pollen-laden plant for native insects and a breathtaking cut flower for the dining table. In the fight against the extinction of insects, this plant may just be what the doctor ordered.

Two popular species of native rattlesnake master, Eryngium yuccifolium (rattlesnake master) and Eryngium aquaticum (blue rattlesnake master), naturally occur in the eastern United States, happily absorbing direct sunlight in open bogs, marshes, and ditches that stay saturated or experience occasional flooding. Rattlesnake master tolerates consistent drought, while blue rattlesnake master tolerates some drought once established but performs best in wet soils and full sun.

Eryngium aquaticum (blue rattlesnake master)

Rattlesnake master’s chalk-white and blue rattlesnake master’s pastel-blue globular spiked blooms emit an opalescence in the sun, providing a truly unique textural experience. A grassy mound for most of the year, these plants’ flower stalks grow between three and four feet in height and width through the summer. Blooms appear in the late summer through early fall and allow this plant to reseed readily. Expect a blanket of insects to cover this plant when it blooms – pollinators find rattlesnake master simply irresistible! A blooming beauty and a larval foodie, eastern black swallowtails sometimes feed on rattlesnake masters as they belong to the parsnip/carrot family.

Though edible to eastern black swallowtails, rattlesnake master causes humans to vomit. This quality of rattlesnake master deeply impacted the trajectory of another native plant, the yaupon holly tree. Indigenous nations across the Southeast drank the now infamous yaupon holly-based tea, called black drink, daily, as well as ritually. As a part of ceremonies, leaders consumed black drink with the intent to purify themselves and the beverage caused them to vomit. Observations of this process led taxonomists to consider the main ingredient of yaupon holly an emetic (induces vomiting), so they classified the plant Ilex vomitoria. However, Indigenous people drank the caffeinated yaupon holly tea daily the same way my office mates regularly down a cup of coffee or green tea with no ill effects. Historians believe Indigenous people infused black drink with rattlesnake master for rituals that required physical and spiritual cleansing, leading to yaupon holly’s taxonomic misnomer.

Still highly regarded by Indigenous communities, the horticulture industry recently discovered rattlesnake master’s utility as a pollinator plant for the garden and as a cut flower for arrangements. No longer used for war in the traditional sense, rattlesnake master aids in the fight against climate change as the native plant movement gains ground across America. Look for the blooms in floral arrangements at your nearest grocery store! You can, of course, find the rattlesnake master plant at Native Nurseries in stock most of the year.

Garden to Table: Summer Pickling Recipes

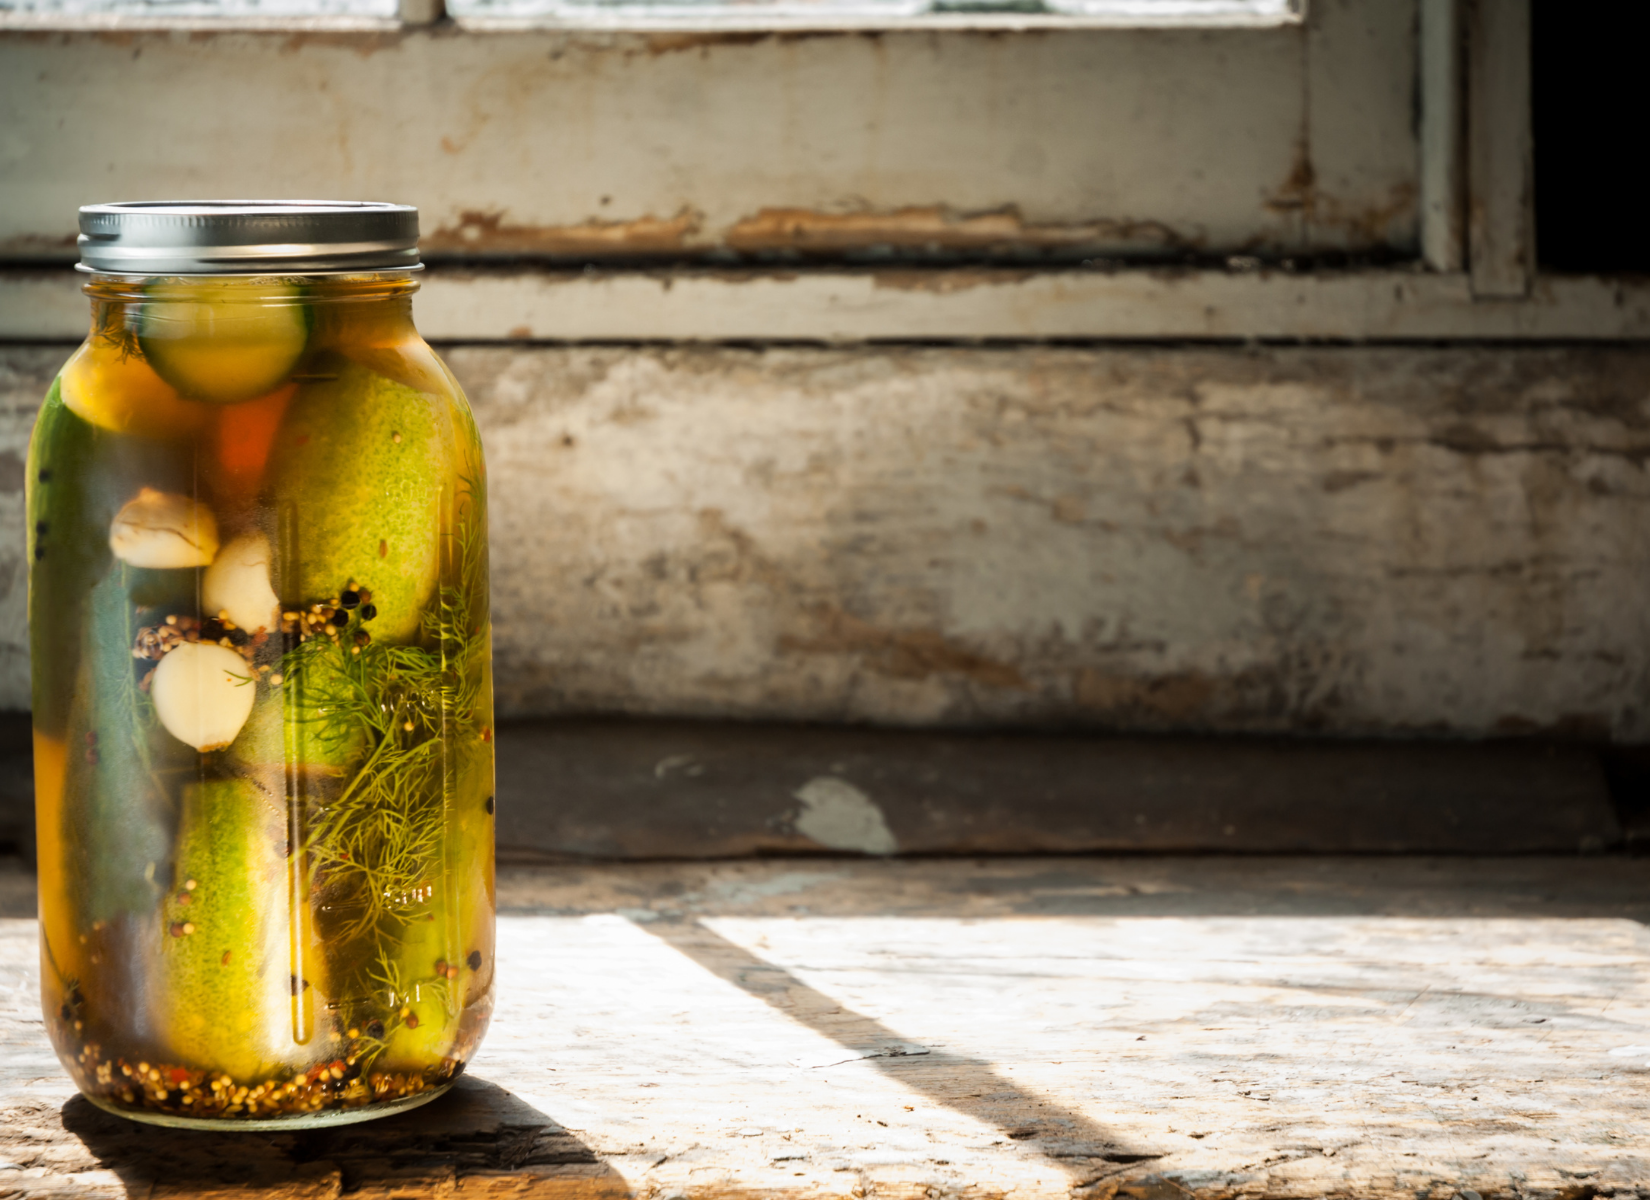
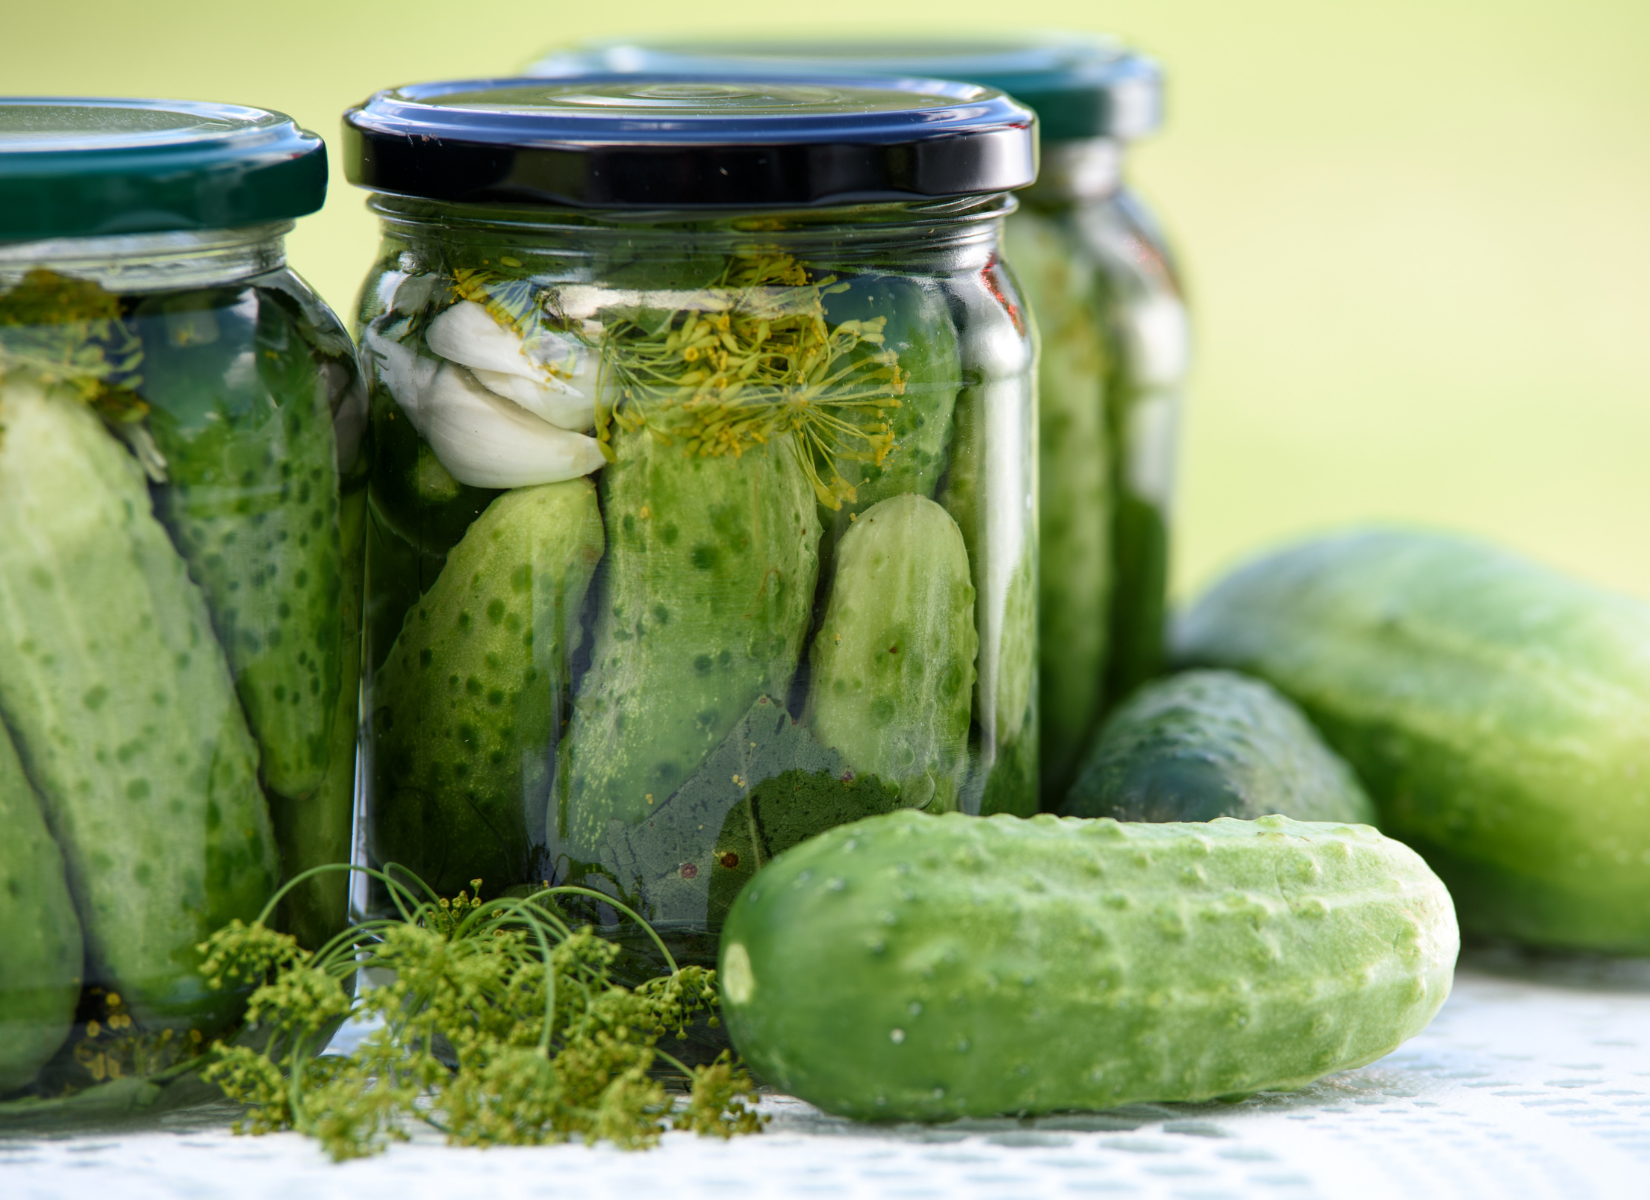
Basic Fermented Dill Pickle

Makes one half gallon container

Ingredients:

  • Cucumbers – about 2 pounds

  • Garlic – a few cloves

  • Dill – fresh

  • Spices – fennel, peppercorns, mustard seeds, celery seeds, coriander, allspice, or any combination of your choice!

  • 3% Salt Brine (7 grams of salt to one cup of water, ideally non-chlorinated) – enough to cover and keep pickles submerged.

  • 2-3 Bay or Grape leaves

Method:

Combine in jar and attach airlock, or just keep pickles submerged. Keep at around 78 degrees. Will be done in 3-5 days, but can be fermented longer–usually up to 14 days.


Refrigerator Pickles

Makes one half gallon container

Ingredients:

  • Cucumbers – about 2 pounds

  • Garlic – a few cloves

  • Dill – fresh

  • Spices of choice

  • 1 ½ cups water

  • 1 ½ half cups rice wine vinegar

  • 4 tablespoons sugar or maple syrup

  • 3 bay leaves or grape leaves

Method:

Combine liquids with sugar and salt until dissolved. Cut cucumbers as desired. Place spices, garlic, dill, bay/grape leaves and cucumbers in jar. Cover with liquid and place in fridge. Will be ready in 1 hour. Consume within 1-2 weeks.


Refrigerator Bread & Butter Pickles

Ingredients:

5-6 cups sliced cucumbers

  • 1 ½ tablespoons Kosher Salt

  • 1 cup Onion or Leek

  • 1 cup sugar

  • 1 cup white vinegar

  • ½ cup apple cider vinegar

  • ¼ cup light brown sugar

  • 1 ½ teaspoons mustard seeds

  • ½ teaspoon celery seeds

  • ⅛ teaspoon turmeric

Method:

Combine sliced cucumbers with salt. Chill for 1-2 hours, then rinse and drain well. Combine with onion and place in jar. Combine sugar and the remaining ingredients over medium heat until dissolved. Pour hot mixture over cucumbers and onion. Cool at room temperature for 1 hour and refrigerate. Will be ready in 24 hours.

Consume within 1-2 weeks.


Pickled Red Onions

Ingredients:

  • Red onions

  • Spices

  • Vinegars

  • 1 tablespoon sugar

  • 1 teaspoon salt

  • 3 bay leaves

  • ½ c hot water

Method:

Mix spices, sugar, salt and bay leaves with hot water in jar. Add onions. Add vinegars to cover. Shake to distribute liquids and spices evenly. Place in fridge. Enjoy over the course of a few days.