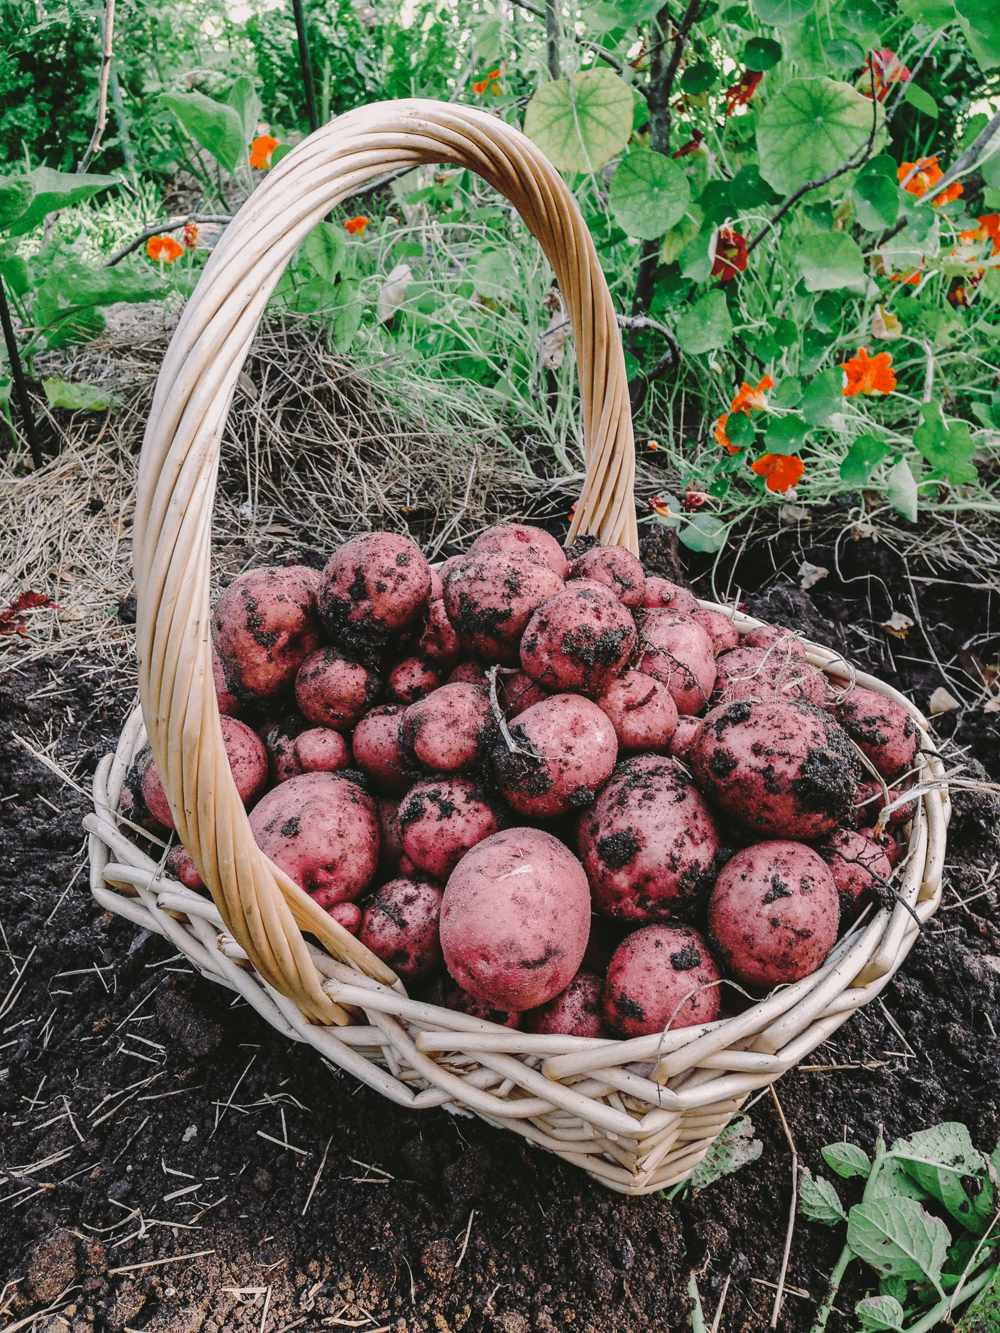
To me, all homegrown vegetables taste better than store bought. A few, however, taste so much better homegrown that I almost never bother buying them from the store. Tomatoes, eggplant, broccoli and cucumbers all fall into this category. I never thought that potatoes would be included until I finally grew them at home for the first time five years ago. A spud was a spud, I assumed, and they were so inexpensive in the grocery store anyways. The whole process of growing and “hilling” potatoes also intimidated me.
Indeed, I was wrong. I grew Red Pontiacs that first year and have ever since. Garden-fresh potatoes are so creamy and smooth, they truly taste as if they’ve already been buttered-up for you. My favorite recipe for them includes fresh garden sage leaves, and is so simple, easy and delicious, it has become one of my favorite dishes. I love this recipe so much; I tried making it after I ran out of potatoes one year and substituted them with store-bought. Well I learned my lesson. The homegrown potatoes were what made the dish so delicious. Those grocery spuds tasted like wax in comparison. How disappointing.
Potatoes are also pretty easy to grow. Here in Tallahassee they are traditionally planted around Valentine’s Day, and harvested by May. My friends Katie and Aaron, who run Full Earth Farm in Quincy, have a traditional Valentines Potato-date every February.
PLANTING METHOD
SEED: You’ll start with seed potatoes, which are just small potatoes that are disease-free and ready to plant. I recommend purchasing these seed potatoes from a local nursery; grocery bought potatoes are treated with a growth inhibitor and may carry disease. Cut these whole seed potatoes into pieces with one or two eyes, each cut piece being golf-ball size or larger. Although small potatoes need not be cut. Let these pieces dry overnight before planting to reduce the likelihood of rot.
SOIL: Potatoes like loose soil rich in organic matter, so work finished home compost or mushroom compost into your bed. There are many ways to plant potatoes, but the easiest and most reliable method I’ve found is as follows; Loosen up soil in your bed and remove any weeds. Make a trench 10 inches wide and 4 inches deep on level ground. If you have multiple rows, they should be at least 36 inches apart. If you haven’t already worked compost into the bed, you can add a layer of compost to the bottom of the trench. Use only finished mature compost that has completely broken down.
PLANTING: Drop potato pieces into the trench about 12 inches apart and bury 3-4 inches deep. If you want to increase the size of your harvest, you can “hill up” the potatoes once the foliage has reached 6-8 inches tall. This means you would pull soil up around the base of the plants, leaving 4 inches of the plant above soil level. Be careful not to damage the roots of the plants. Hill a second time 2-3 weeks later if your desire. Mulch with pine or hay straw once you have finished hilling, to prevent weeds. Hilling the soil increases potato production but is not necessary if you can’t find the time or inclination. I still get a good size harvest on years I haven’t had the time to hill.
By the end of April, the green tops will start yellowing and dying back and that means those little taters are sizing up underground. I use a garden fork to lift up the tubers with the least amount of damage. This is my favorite part of the growing process, because it feels like you’re digging up buried treasure. Now all there's left to do is harvest and set a potato date!


